Bitcoin

How to use a Trezor without leaking your balance and transaction history to third parties

Trezor Model T

If you own a Trezor wallet (either Trezor One or Trezor Model T) chances are you’ve used the official web wallet. When you use wallet.trezor.io your xpubs are sent to the third party servers (in this case servers owned and operated by Satoshi Labs). This is not ideal because, although I don’t imply SL do nefarious things with your data, it’s possible at some point they can be coerced by The-Powers-That-Be to release this data at which point your privacy might be in danger.

In this short guide I’ll present an alternative way of using either of the Trezor hardware wallets in such a way that it doesn’t leak your private data to third parties. I think very few Trezor owners know about the method presented in this guide. According to my rough guesstimates 99% of Trezor owners either use the offical web wallet for both initial setup and subsequent transactions or use the web wallet for initial setup (leaking their xpubs) and then switch to using something like Electrum.

Benefits of this method:

  1. You don’t leak your past and future transaction history and your balance to any third party (your xpubs stay private)
  2. You can generate addresses offline without any Internet access (provided the tool is already setup on your computer)
  3. You can generate any type of the address be it a legacy address (1…), a P2SH-wrapped-segwit (3…) or a native segwit (bc1…). You’re not limited to the functionality of the web wallet.
  4. If wallet.trezor.io ever gets compromised or shut down you’ll still be able to use your Trezor hardware device

Things you’ll need:

  1. 1x Trezor One or Trezor Model T + USB cable
  2. A laptop/PC running Linux/Mac OS (or Windows if you can setup Python on it and run a terminal)
  3. A piece of paper and a pen
  4. 0.5 hour of free time

WARNING: It’s best to go through this guide using a wiped device. The point is to start using a wallet that no third party knows about. Make sure you have your seed, your passphrase and your PIN backed up before starting this guide. If you already have coins on your Trezor it’s best to either recover them using a different BIP39 compliant wallet or send them to another wallet so that you can transfer them later to your freshly and privately setup Trezor.

Step 1 – trezorctl

Begin by installing trezorctl. The link contains detailed setup instructions for every major operating system. Then proceed to learn about various commands that are available:

$ trezorctl --help
$ trezorctl device --help
$ trezorctl btc --help

Step 2 – verify the connection

Connect your Trezor to your laptop via the USB cable. If your device is not wiped it’ll ask you for a PIN. Enter it to unlock the device. Check that the link between your laptop and Trezor is working properly by issuing the following in a terminal:

$ trezorctl ping hello
hello

Step 3 – wipe the device

WARNING: It’s best to go through this guide using a wiped device. The point is to start using a wallet that no third party knows about. Make sure you have your seed, your passphrase and your PIN backed up before starting this guide. If you already have coins on your Trezor it’s best to either recover them using a different BIP39 compliant wallet (eg. Electrum) or send them to another wallet so that you can transfer them later to your freshly and privately setup Trezor.

$ trezorctl device wipe
Before wiping it clean make sure you can recover your coins on a different wallet.

Step 4 – Setup new seed

The gist of this guide – setting up new seed privately without leaking its xpubs to a third party:

$ trezorctl device setup --help
Usage: trezorctl device setup [OPTIONS]
 Perform device setup and generate new seed.
 Options:
   -e, --show-entropy
   -t, --strength [128|192|256]
   -r, --passphrase-protection
   -p, --pin-protection
   -l, --label TEXT
   -u, --u2f-counter INTEGER
   -s, --skip-backup
   -n, --no-backup
   -b, --backup-type [single|shamir|advanced]
   --help

You have a few options here. I’ll go through the most important ones:

  1. –strength 128|192|256 – this is the length of the private key in bits. The longer the key the more words in the seed. 128 bits corresponds to 12 words in a standard BIP 39 wallet. 256 to 24 words. If you use Shamir Secret Sharing 128 will give you 20 words and 256 will give you 33 words per share. Bear this in mind when deciding on th backup method you want to use. 128 bits is secure and makes backup (especially by stamping on metal) easier. When in doubt pick 128 bits
  2. –passphrase-protection – whether or not the wallet should ask for a passphrase. Recommended
  3. –pin-protection – Whether or not the device should setup a new PIN
  4. –backup-type single|shamir|advanced – Besides a simple type which gives you a single list of mnemonic words to backup you have the option to pick a shamir backup and advanced (shamir with groups) backup. When in doubt pick single but learn more about Shamir Secret Sharing before deciding because it’s a great way to increase the security and recoverability of your backup.
$ trezorctl device setup --strength 128 --passphrase-protection --pin-protection --backup-type shamir
Setting up a new seed using Shamir Secret Sharing
Trezor backup checklist
Let’s set up 3 of 5 shares
To recover the seed you’ll need any 3 of the 5 shares.
Write down the mnemonic words for each share on a piece of paper.

Step 5 – Generate receive addresses

Once you setup a new seed you can generate some receive addresses. Because you’re controlling the device directly you have some options here that aren’t available using the web wallet:

  • You can generate a Bech32 (native segwit):
  • You can use custom derivation paths for your addresses and display xpubs for any given path

Let’s generate a first Bech32 address now. But before we do that brief explanation on how BIP32 derivation paths work.

Derivation paths are specified in BIP32 and BIP44. We define the following 5 levels in BIP32 path:

m / purpose' / coin_type' / account' / change / address_index

Apostrophe in the path indicates that BIP32 hardened derivation is used.

Each level has a special meaning, described in detail here.

The purpose level determines the further structure beneath this node. For example if we want to use legacy address types (beginning with 1…) the purpose level is set to 44' meaning the levels are defined in BIP44. The apostrophe means hardened derivation is used at this level.

If we want to use P2WPKH-nested-in-P2SH address types (beginning with 3…) the purpose level is set to 49'

If we want to use P2WPKH (native segwit, addresses beginning with bc1…) addresses the purpose is set to 84'

coin_type is always set to 0 for Bitcoin.

account – corresponds to “Accounts” in the web wallet (you can have multiple accounts on a single wallet). 0 corresponds with Account #1 in web wallet, 1 with Account #2 and so on

change – 0 means “default receive addresses” and 1 means “change receive addresses”.

address_index – index (starting from 0) of a generated address

Knowing all the above we should be able to generate different address types now.

First legacy address:

$ trezorctl btc get-address --address "m/44'/0'/0'/0/0" --script-type
Please confirm action on your Trezor device
 Passphrase required:
 Confirm your passphrase:
1CEmanepxWEdJC2LBhFvdhWrPHzbTxfW6V

P2SH-wrapped-segwit address:

$ trezorctl btc get-address --address "m/49'/0'/0'/0/0" --script-type p2shsegwit
 Please confirm action on your Trezor device
 Passphrase required:
 Confirm your passphrase:
 3K1VvtdaSMZhZ48mW2Pe5XEayKy9xDUDuh

Native segwit (Bech32) address:

trezorctl btc get-address --address "m/84'/0'/0'/0/0" --script-type segwit
 Please confirm action on your Trezor device
 Passphrase required:
 Confirm your passphrase:
 bc1q3ga68qn3pywxa72vqzytdrv0qd0wm865ene4aj

To generate subsequent addresses you increment the last number. For example to generate a second native segwit address use:

$ trezorctl btc get-address --address "m/84'/0'/0'/0/1" --script-type segwit

Step 6 – Verify your setup

How do we know that the addresses we generated are compatible with other wallets (follow the HD standard defined in BIP32 and related BIPs)? We can export the public key of our wallet (so called xpub) and use this in a different wallet to check that the addresses we just generated match.

Let’s export the public key of your Trezor (the so called xpub) for legacy addresses:

$ trezorctl btc get-public-node --address "m/44'/0'/0'" --script-type address
 Please confirm action on your Trezor device
 Passphrase required:
 Confirm your passphrase:
 node.depth: 3
 node.fingerprint: ca35ef32
 node.child_num: 2147483648
 node.chain_code: 1dae8ac8e284104382998c4b91a6f17e385cfab9ec54d96387bcbbcd4a3d7559
 node.public_key: 03a26a7632b86520e546c4fc8ecbe1db94042e3536c3431876e8566e53b8a40317
 xpub: xpub6D8yQnAtMgSb5biQTYrwzEvhodb1CHsZnvgecPWc8zykuPM61CueevG4EbWjurYstEEvaC2nX3b74od5khrEMqz5unVprSf2dSQHpcX2Ts5

The derivation path follows until all the hardened levels are exhausted and only non-hardened levels are left (default or change address type and the address index) so that we can derive all the available addresses from these levels.

Once we have the xpub we have to import it into a watch-only wallet. The easiest way would be to import it into something like Samourai Sentinel or BlueWallet or Electrum in read-only mode. But doing so leaks your xpub to third parties which we wanted to avoid in the first place. We’re going to use a different approach that doesn’t rely on third party servers but instead on your own Bitcoin node.

Output descriptors

Recent versions of Bitcoin Core support output descriptors which is a handy way of describing the types of addresses and derivation paths we use in our wallet (Trezor in this case).

This is a simple, 2 step process that consists of running two bitcoin-cli commands:

  • bitcoin-cli getdescriptorinfo
  • bitcoin-cli deriveaddresses

The first command analyses an output descriptor and calculates its checksum. The second command derives addresses based on the descriptor and its checksum.

$ bitcoin-cli getdescriptorinfo "pkh(xpub6D8yQnAtMgSb5biQTYrwzEvhodb1CHsZnvgecPWc8zykuPM61CueevG4EbWjurYstEEvaC2nX3b74od5khrEMqz5unVprSf2dSQHpcX2Ts5/0/*)" 
{   "descriptor": "pkh(xpub6D8yQnAtMgSb5biQTYrwzEvhodb1CHsZnvgecPWc8zykuPM61CueevG4EbWjurYstEEvaC2nX3b74od5khrEMqz5unVprSf2dSQHpcX2Ts5/0/)#kkz0hv84",
   "checksum": "kkz0hv84",
   "isrange": true,
   "issolvable": true,
   "hasprivatekeys": false
 }
$ bitcoin-cli deriveaddresses "pkh(xpub6D8yQnAtMgSb5biQTYrwzEvhodb1CHsZnvgecPWc8zykuPM61CueevG4EbWjurYstEEvaC2nX3b74od5khrEMqz5unVprSf2dSQHpcX2Ts5/0/*)#kkz0hv84" "[0,2]"
[
   "1CEmanepxWEdJC2LBhFvdhWrPHzbTxfW6V",
   "13UtN7MfqyvUUijUAM4cGGrRnwMZfyUSNX",
   "1PKecwGghrcdKe2RUJvMZMSV2zxcBAy95b"
 ]

You can see that the first derived address 1CEmanepxWEdJC2LBhFvdhWrPHzbTxfW6V matches with the address generated using trezorctl earlier for this legacy address type. It’s safe to send to this address now. Let’s check the second address:

$ trezorctl btc get-address --address "m/44'/0'/0'/0/1" --script-type address
Please confirm action on your Trezor device
Passphrase required:
Confirm your passphrase:
13UtN7MfqyvUUijUAM4cGGrRnwMZfyUSNX

P2SH-wrapped-Segwit

If you export the xpub of your P2SH-wrapped-Segwit address types it becomes an ypub. I’m not going to dive into why we have xpubs, ypubs and zpubs and where they came from. Suffice to say that xpubs in general refer to legacy addresses (1..), ypubs to P2SH-wrapped-Segwit (3…) and zpubs to native Segwit (bc1…). You can read more about the different types and their purpose here.

$ trezorctl btc get-public-node --address "m/49'/0'/0'" --script-type p2shsegwit
 Please confirm action on your Trezor device
 Passphrase required:
 Confirm your passphrase:
 node.depth: 3
 node.fingerprint: e6ae807d
 node.child_num: 2147483648
 node.chain_code: 55da27527153f63a27b6ddfb98d4f72dd21d1cbdf80002a7b59cdd6372864426
 node.public_key: 023b9017d272609fddaa5878c5a08d021368cb57d7e57a5116ad6f300beae02e76
 xpub: ypub6YBNguLJSNryXbeW9FKJi1UmrvfgceQfdYsknRrG3ynaCUm7Jb8kDqoSEWEZpVJjgZvjir4HpUGPzWMPCJ6q6ZE5S9fophRmb3EqJBf3Twh

Bitcoin Core understands only xpubs so before importing we have to convert this ypub into an xpub. We can use this tool in offline mode (save the page locally, disconnect the Internet and then open the saved page in your browser). If you want you can write your own terminal tool that does the conversion. It’s not difficult, the source code is here. All you need is a Base58 encoding library in your favourite programming language and 1 function.

After conversion our ypub becomes xpub6DM7PEfPHhKVgJTPJtXgVvPGgxXEg2RAiSMY12xNfyQh9Nwt3vyBbn9JDJGypaepGvovyNTjMour7DjpUbgpJKYUZoyPEncHKKBBucqRZEs

$ bitcoin-cli getdescriptorinfo "sh(wpkh(xpub6DM7PEfPHhKVgJTPJtXgVvPGgxXEg2RAiSMY12xNfyQh9Nwt3vyBbn9JDJGypaepGvovyNTjMour7DjpUbgpJKYUZoyPEncHKKBBucqRZEs/0/*))"
{
  "descriptor": "sh(wpkh(xpub6DM7PEfPHhKVgJTPJtXgVvPGgxXEg2RAiSMY12xNfyQh9Nwt3vyBbn9JDJGypaepGvovyNTjMour7DjpUbgpJKYUZoyPEncHKKBBucqRZEs/0/*))#fz5unnpt",

  "checksum": "fz5unnpt",
  "isrange": true,
  "issolvable": true,
  "hasprivatekeys": false
}
$ bitcoin-cli deriveaddresses "sh(wpkh(xpub6DM7PEfPHhKVgJTPJtXgVvPGgxXEg2RAiSMY12xNfyQh9Nwt3vyBbn9JDJGypaepGvovyNTjMour7DjpUbgpJKYUZoyPEncHKKBBucqRZEs/0/*))#fz5unnpt" "[0,2]"
 [
   "3K1VvtdaSMZhZ48mW2Pe5XEayKy9xDUDuh",
   "3Nh8TjCvp3qauFfsjz4dGJffiGphPTWgjc",
   "3DbBaUHRUioWAN1GPzPofTri2z3Vjat23p"
 ]

Native Segwit

$ trezorctl btc get-public-node --address "m/84'/0'/0'" --script-type segwit
Please confirm action on your Trezor device
Passphrase required:
Confirm your passphrase:
node.depth: 3
node.fingerprint: d6087fa9
node.child_num: 2147483648
node.chain_code: 4a505341aea8ebb8cd37a81a403873c7d793ff27a7d13d74c6ee2a5a78f5fdd6
node.public_key: 024e14d597c7b8a4124517489564b0e9d76640e6c4d32bf45af6e407b51f87d371
xpub: zpub6rtYLtJpLzF7thRSjjCkL5NHafkCXNgFjSNjtpJcCjjmxktBQdeteMoCkmeeTPfdmVCZckJNuMuxyahsG6X2jX1fP2BqrpshAgmYR7GYpZB

Our zpub becomes xpub6DE1jYxz3dAAC73D51dVuuBHEjTJe8hFuDLJL2WqSiz1rZFiuKKmQEUviMjUTaMnxCxx7o7Fz3CsD1Ujphh193eTeLnzh1EidEeFdxyWC4R

$ bitcoin-cli getdescriptorinfo "wpkh(xpub6DE1jYxz3dAAC73D51dVuuBHEjTJe8hFuDLJL2WqSiz1rZFiuKKmQEUviMjUTaMnxCxx7o7Fz3CsD1Ujphh193eTeLnzh1EidEeFdxyWC4R/0/*)"
{
  "descriptor": "wpkh(xpub6DE1jYxz3dAAC73D51dVuuBHEjTJe8hFuDLJL2WqSiz1rZFiuKKmQEUviMjUTaMnxCxx7o7Fz3CsD1Ujphh193eTeLnzh1EidEeFdxyWC4R/0/*)#5cfttwry",
  "checksum": "5cfttwry",
  "isrange": true,
  "issolvable": true,
  "hasprivatekeys": false
}
$ bitcoin-cli deriveaddresses "wpkh(xpub6DE1jYxz3dAAC73D51dVuuBHEjTJe8hFuDLJL2WqSiz1rZFiuKKmQEUviMjUTaMnxCxx7o7Fz3CsD1Ujphh193eTeLnzh1EidEeFdxyWC4R/0/*)#5cfttwry" "[0,2]"
 [
   "bc1q3ga68qn3pywxa72vqzytdrv0qd0wm865ene4aj",
   "bc1qy8xmte3spxu3udjmzp3e393jnkmdy0gctzdyxs",
   "bc1qzqs6t3ffgqhdwv0rpmq2uzevktyw65yu9rs3r5"
 ]

Step 7 – Proper backup and reset

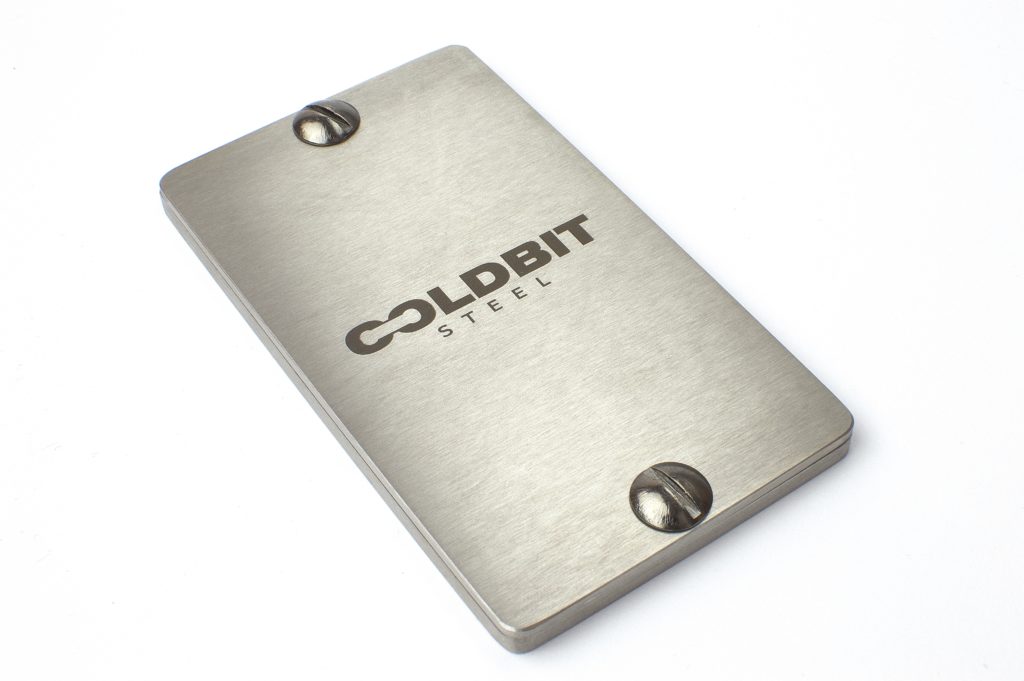
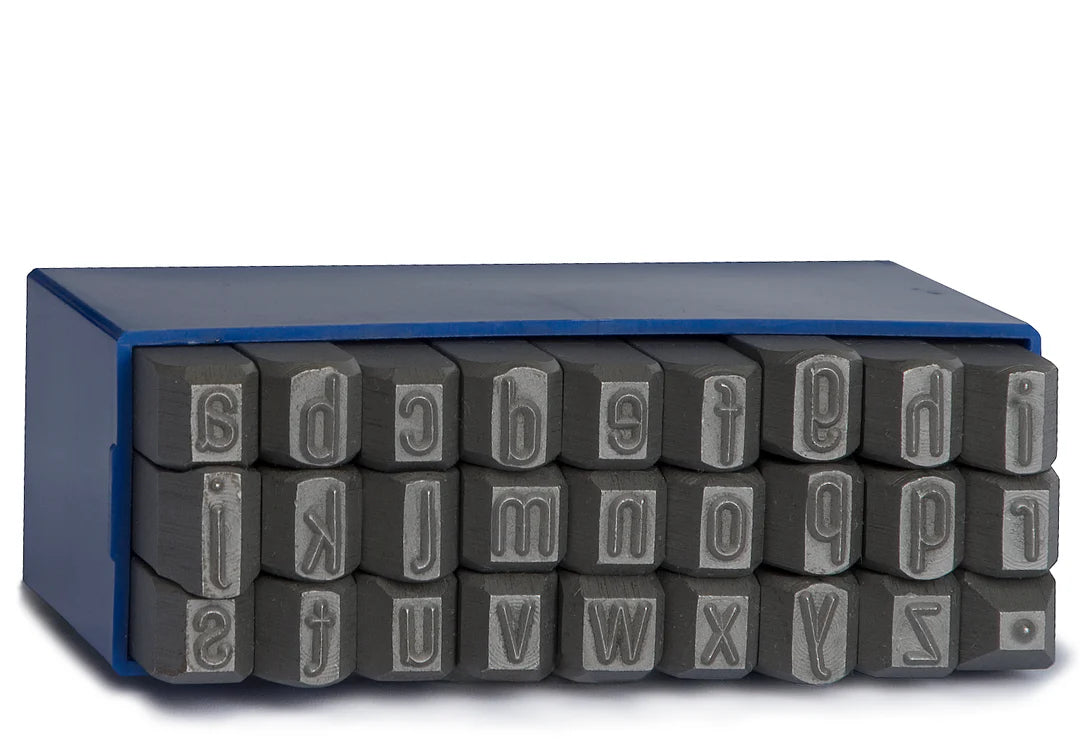
This crucial step is often overlooked by Bitcoin users. They often rely on pieces of paper (which can be destroyed or lost quite easily). A much more robust solution is to use a piece of stainless metal that can withstand extreme temperatures, floods and weather as a backup material of your seed.

We offer a range of products aimed at Bitcoin users who would like to securely and privately backup their seeds, passphrases, PIN codes etc. on stainless steel or titanium.

If you’ve followed this guide and find Shamir Secret Sharing Scheme useful in your situation we have a special line of products designed just for that:

Coldbit Hex – 3x Bundle

Coldbit Steel - 3x Hex Bundle
Coldbit Hex – 3x Bundle

A great addition to your 2-of-3 Shamir Secret Sharing Scheme. Let’s you stamp your shamir shares on 3 different steel/titanium rods and store them in separate geographical locations. Such a setup increases the security and recoverability of your funds tremendously.

Coldbit Hex – 5x Bundle

5x Coldbit Steel - Hex Bundle
Coldbit Hex – 5x Bundle. No compromise setup.

No compromise setup for serious, self-sovereign individuals at an affordable price.

Wiping your Trezor

This step is optional but recommended for increased security of your funds and smaller attack vectors. The idea is to wipe your Trezor after you’ve backed up your seed/passphrases and PINs in multiple locations in order minimise the attack surface on the device itself. Trezor is vulnerable to seed extraction provided physical access is possible so wiping your Trezor mitigates this and a whole bunch of other attack types. Remember: The best hardware wallet is a wiped hardware wallet. Make sure your seed is backed up safely and that you can in fact recover your seed before wiping the device!!!

The only drawback of wiping your Trezor after setting it up is that you cannot sign transactions with a wiped device (obviously), you have to recover it first using the backup (and wipe again after use). This method is recommended for a portion of your coins that don’t move very often.

Summary

The method presented above lets you generate receive addresses on your Trezor completely offline, without any Internet access and without leaking your transaction history and balance to any third party. You have total control on the type of addresses generated and you can verify that they are correct by using your own Bitcoin node.

Sending transactions privately requires a few more things. It’s a topic for a future blog post. If you want to learn more about Bitcoin wallet/key security and best practices for safe storage sign up to our newsletter below:

[activecampaign form=3]

Resources:

10 Comments

Leave a Reply

Your email address will not be published.

No products in the cart.